Wednesday, April 1, 2015

spring breakin the rules : #letsbehealthy #justalittle


 Well. I said it. 


Let's be HEALTHYYYYY.


It really isn't a bad word for a baker. We kinda want to be, healthy. We want our kids to be. I mean this can't be a week of endless sweet snackin up and down all over the place yeeehawww forget about the fruits and veggies and good stuff. But I AM that mom,  it's your birthday, eat what you want! It's Christmas, eat what you want! It's Thanksgiving, eat what you want! It's spring break! 
We are offfff! No schoooool!!!
Really though, special occasions, I let them have the cake, the chips, the ice cream, the soda. SPECIAL OCCASIONS. But my kids are well-balanced, by THEIR choice. Seriously. They know how to eat well. And they really do appreciate their sweets on special occasions. They do love their fruits and veggies. I don't have to fight with that. Seriously I AM the mom threatening my kid to try a new ice cream flavor or cookie, or else! NOT EVEN KIDDING. 


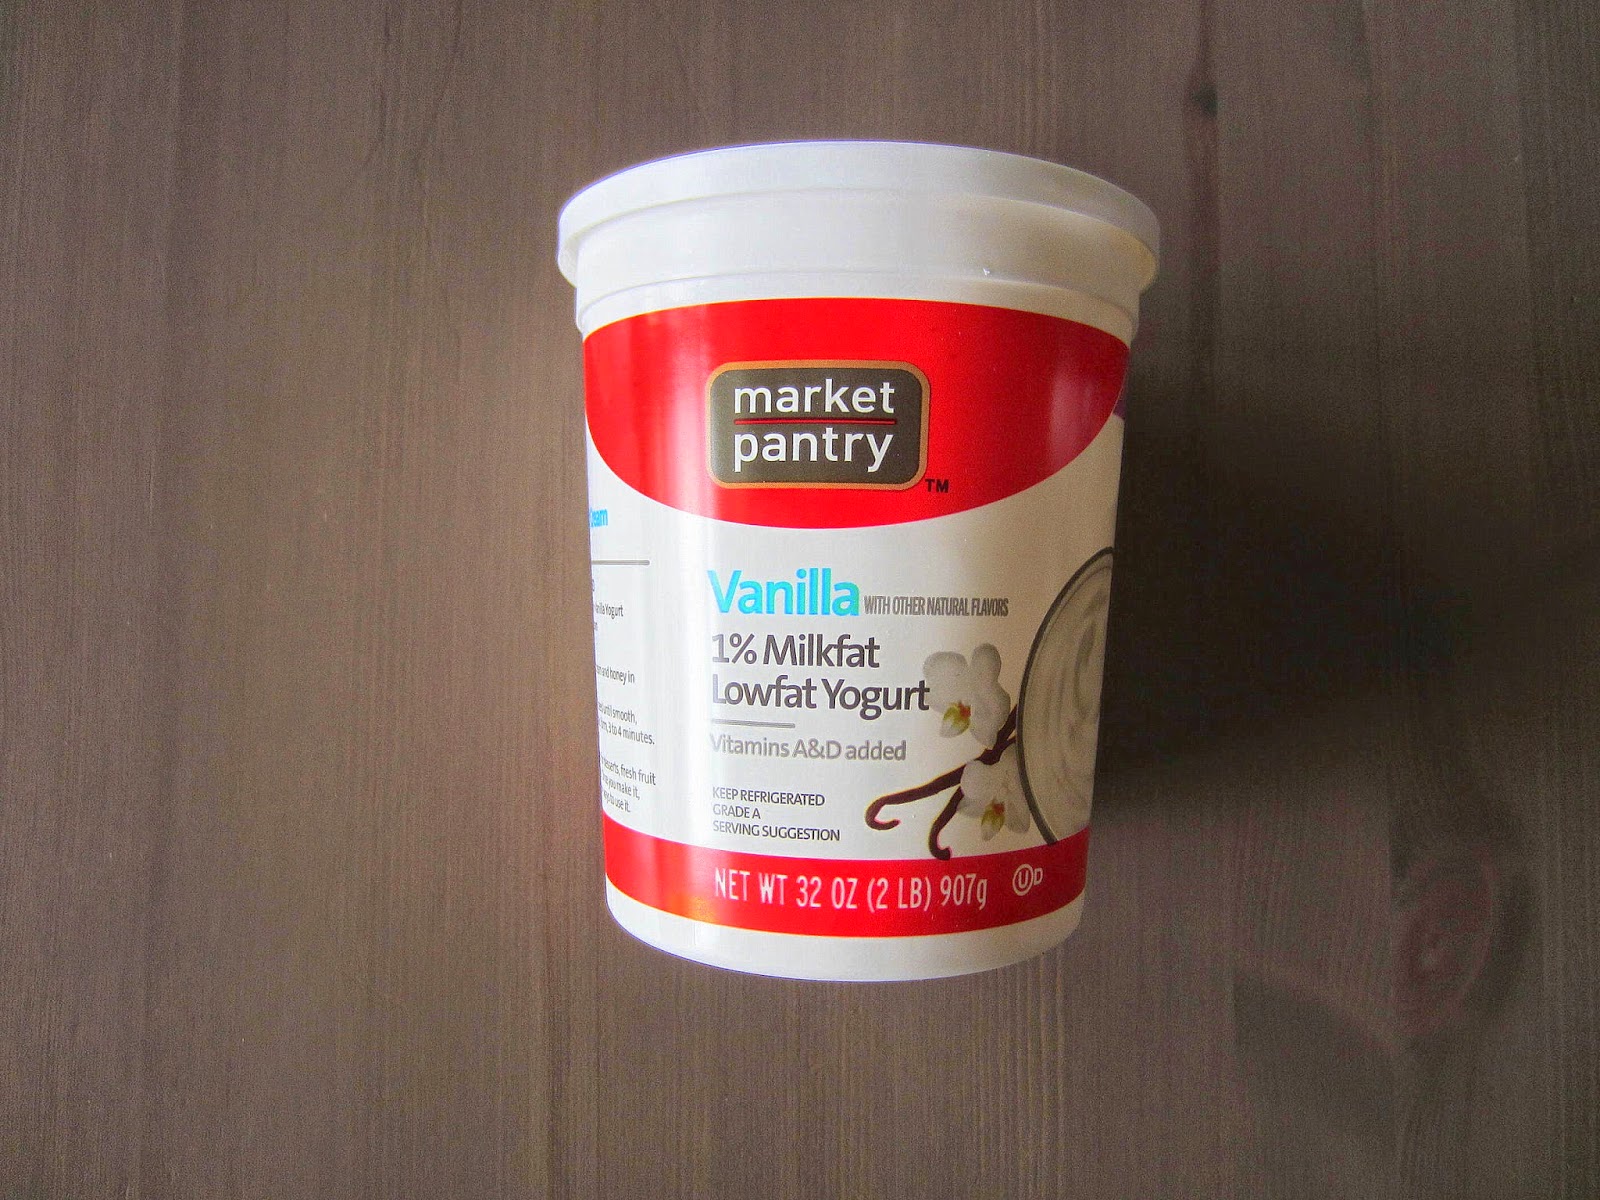
So there was no fun preview picture above for this one. HA you might just figure it out and go home. LOL. But I guess you could also scroll and go home too. It is pretty self-explanatory. I could just post pictures and you would totally get it and do it. Like here I picked some fruits I love in yogurt. Pineapple chunks, apples and strawberries. For now, slice the apples like this. You will see why.


The fun part. I hope you have some cute little cutters you can use. Use anything you want to make fun shapes to add to your yogurt.
The springy Easter part comes with the yogurt transformation.
So I have these little cutters. And I need a knife to slice the strawberries and pineapple.


Ok here is where we make this yogurt bright and beautiful. Get it in a bowl, or leave it in the container. I just did this for demonstration purposes. Then dig into your food colorings for whatever springy colors you want.


Divide the yogurt into individual bowls. I put about four large tablespoons in each bowl. Then squeezed just a little coloring in each.


Look how pretty! Like a bouquet of flowers. AW.


Looks like they are ready for toppppinggggs.
Good, healthy toppings.


Take your apple slices and pop out some sweet lil bunnies to go in. Just love em.


For the strawberries, you need to slice them like this first, before the fun part.


Now pop out some cute lil flowers. AW.


For the pineapples, I just sliced the chunks up.


You can let the kids do what they want, or if you're that mom who likes to control things, go ahead. Do it before they notice. Decorate their lil bowls of yogurt.


Like this. I made a little pineapple fence where the two love bunnies met to eat some flowers. AW.


I just love these little bunnies. Get in. Cutie.


Last one done! Well, there is one more surprise bowl.


Grab one! It is sooo good with fresh fruit.


I wanted one where I mixed all the colors.


I wanted a swirl of all the colors so I just used a toothpick. Pretty little yogurt. AW.


Add some fruit! YUMMMM!

Happy healthy spring break hump day!

Tuesday, March 31, 2015

krispies baskets!

I could eat a whole box of Rice Krispies. If I make home made, they don't make it to shapes. I'll just eat blobs of it. sorry not sorry. But I don't make them often. I don't need to. Plus I hate working with sticky marshmallow >.< but I do love eating it. So if I want a RKT, I buy them. HA! Check it out. This basket is all krispy....


Ok so when you dip RKT in chocolate... HeAvEnnnn :O
Boy I need my emojis here on this blog.
Here we goo..


So you definitely need : Rice Krispies Treats, chocolate and some decorations. I have Cadbury mini eggs and Bakerella's cool new edible grass. Its perfect for all these cute Easter treats!


Unwrap your RKT and cut about in half. Eh, a hair or two more on one side is ok. But just a hair. Or two. The bigger side is better for making the handle. PS here are some more supplies for helping you along. Some toothpicks, a baggie, sticks.. some round cutters - these can help shape your handle but if you don't have them, just use a knife. I trust you. Then you may need a stand, but, uh, I only needed it for one of these. The other two didn't like to stand up. lol.


Use the larger cutter to cut the outer of the handle. Just to kind round off the top corners to make a nice rounded handle. Gotcha.


Then use the smaller cutter to shape the inner part of the handle. Pop it out and into your mouth. I mean really what are you gonna do with it?


Should look like this. YAY.


Now. If you try to just glue onto the base of the basket with your melted chocolate..the handle could collapse. Just saying. I just know these things. Because it happened to me. So. Let's reinforce it a little with some chocolate. On the inner wall of the handle, using a tooth pick coat with a thin smooth layer of chocolate. Let that dry. Continue to work on other baskets/handles while you wait for things to dry. You got this.


HAHA looks like a padlock. HA don't laugh at my Easter basket. lol jk! It does. So when the inner part of the handle is dry, put some chocolate on the bottoms and glue to the base so they come together like this. Thumbs up. Next dip a cake pop stick into the chocolate and insert in the bottom of the basket.


Next dip into the melted chocolate. Carefully tap off the excess. RKT is very sensitive. Don't upset it. If it feels like standing in a cake pop stand, let it. If not, when all the excess is tapped off, gently lay on a piece of wax paper. 


 I had these toothpicks here to reshape the handle if if started to shift.
Just needed a little poking and it was fine.


Once the basket is dry, fill your baggie with melted chocolate and drizzle like this. Make a nice basket weave. You are a basket weaver. Ok not really I just crisscrossed all over the place. Looks great enough, right.


Once that is completely dry, and it could take a little while, pick it up off the wax paper and using a toothpick just clean away any pokey sticky parts from the crisscrossing.


Next use a toothpick to lather on some chocolate inside the basket to put your eggs.


Then put your eggs in first.


And finally, while the chocolate is still wet, stuff in as much grass as you can. Looks good.
Let that all dry before the final touch.


Some cute ribbon. Now if you are a cake popper, baker, you may have some of those fancy bow molds like I have. You can make some completely edible bows for your basket if you want. But if not, just tie on some cute ribbon from your local craft store. Just be sure you tell the kids to take them off before eating or before one dares the other too eat that too. It happens. I'm a mom of boys.


Looks so pretty and yummy! You can even give this to friends and family and be like look what I made yalllll. Mmmmm. One bite and they will love you.

Happy Easter Spring Break Snacking! 


Monday, March 30, 2015

mini time!

It's Monday! It's mini time!
Next in the 7 days of spring break treats are the chocolate 
 covered mini oreos I made for Christian's teachers.
SEEEE! Bottled up in some adorable mini jars from Target.
Perfect for MINIs :D


 Well, we love Oreos too! You can just pop these in your mouth. Endlessly. So be careful. Or like your mom said, you could turn into a mini chocolate covered Oreo.
I don't care. As long as I AM mini.


If this isn't the cutest way to Oreo...then what is life. JK really I don't think they can get any cuter than this. Well the minis. I do have some cute Oreos coming up this week. BUT LOOK at these minis. So cute. The chicks. Chicks are cute no matter what form. And the bright colored pastels remind me of mini Easter eggs. I am so sure if you have kids or grandkids, you have mini Oreos in your house. Have fun with them this spring break! Ready! Let's make some! 


They are so easy this is gonna be a breeze! You may not stop til the bag is gone. AHA. Here's some cute sprinkles for your mini Easter egg pastel Oreos. Of course mini Oreos and TOOTHPICKS. Toothpicks are life in this treat making hobby.


If you wanna get crazy and do the whole bag, go for it. I'll just do a few at a time. K. So seperate the Oreos. I think some people think you have to shove the stick, or in this case the toothpick, into the space between the cookies. No. Just take them off. It's a lot easier. Dip your toothpick into the melted candy melts you are using and press into the cream of the Oreo. Try to lay it the length of the Oreo so that it is even when you place the top cookie back on.


And that's what you do next. Right after putting your toothpick on, put the top cookie on to secure it with the melted chocolate. 


Let them dry a few minutes then dip into your melted candy melts.Tap off the excess and smooth the bottom with a toothpick. You don't want a pointy hole left when you take the toothpick out.


If you are sprinkling these, do it right after you dipped and tapped. If you may be drizzling them with another color, place in stand to dry.


I am using some styrofoam to hold these Oreos. The skinny little points of the toothpick are more stable in something like this. This is actually a cake dummy. HAHA. Place here to dry until the final step.


Here I am making the baby chic Oreos. Doing the same steps for the sprinkled Oreos. Take them apart, dip your toothpick in your melted candy and press into the cream of the Oreo.


Top with the other cookie while the candy melts are still wet.


Time to dip and tap of the excess melted candy. Before your candy dries place the little beak on using the rainbow chips. Place the beak closer to the top.


Then right after the beak cover with yellow sanding sugar for that fuzzy chick look. AWW.


With some melted black candy melts, place two little black eyeballs on your baby chick. Like this. It looks crazy but I like it better this way when I take the toothpick out. LOL.


Continue to make as many minis as you want!
Place them in your foam to dry before the final step.. below.


To remove, carefully grip your mini Oreo and twist the toothpick, and then start to pull and twist. See. Comes right out.


Same for the baby chicks. Be careful with them! They are too cute to crush. So again, carefully grip your mini Oreo, twist and pull the toothpick out. TADA!


AaAaAaAaH! Once all the toothpicks are out, display your littles in some edible grass and dig in! HeAvEnLyyyy. They are ready for spring break snacking! YuM.